Setting up a remote IoT network using a Raspberry Pi is becoming increasingly popular among tech enthusiasts and professionals alike. The versatility of Raspberry Pi, combined with its affordability and ease of use, makes it an ideal choice for creating robust IoT networks. Whether you're building a home automation system or a large-scale industrial solution, this guide will walk you through every step of the process.
As the Internet of Things (IoT) continues to grow exponentially, businesses and individuals are seeking ways to harness its potential. One of the most efficient and cost-effective methods involves leveraging the power of Raspberry Pi to build remote IoT networks. This technology allows users to monitor, control, and manage devices from virtually anywhere in the world.
In this article, we will explore the best practices for setting up a remote IoT network using Raspberry Pi. We'll cover everything from selecting the right hardware and software to configuring your network for optimal performance. By the end of this guide, you'll have all the tools and knowledge necessary to create your own remote IoT network.
Read also:Anant Ambani Wikipedia The Rising Star In The House Of Reliance
Table of Contents
- Introduction to Remote IoT Networks
- Raspberry Pi Overview
- Hardware Requirements
- Software Requirements
- Setting Up the Network
- Security Measures for IoT Networks
- Enabling Remote Access
- Troubleshooting Common Issues
- Use Cases for Remote IoT Networks
- Conclusion and Next Steps
Introduction to Remote IoT Networks
Remote IoT networks are transforming the way we interact with technology. These networks enable devices to communicate and exchange data over long distances, providing real-time insights and control. For example, farmers can monitor soil moisture levels remotely, while factory managers can oversee machinery performance without being physically present.
Why Choose Raspberry Pi?
Raspberry Pi has become a go-to solution for IoT enthusiasts due to its affordability, flexibility, and ease of use. With a wide range of models available, users can select the one that best suits their specific needs. Additionally, Raspberry Pi supports numerous programming languages and operating systems, making it highly versatile.
Benefits of Using Raspberry Pi for IoT
- Cost-effective and energy-efficient
- Compact size and portability
- Compatibility with various sensors and peripherals
- Strong community support and extensive documentation
Raspberry Pi Overview
Raspberry Pi is a series of single-board computers developed by the Raspberry Pi Foundation. These devices are designed to promote the teaching of basic computer science in schools and developing countries. Over the years, Raspberry Pi has evolved into a powerful tool for hobbyists, educators, and professionals alike.
Key Features of Raspberry Pi
- Processor: Broadcom BCM2835 or newer
- RAM: Varies depending on the model (512MB to 8GB)
- Connectivity: Wi-Fi, Bluetooth, Ethernet
- GPIO Pins: General-purpose input/output pins for connecting sensors and actuators
- Operating Systems: Supports Linux-based distributions such as Raspbian, Ubuntu, and more
Hardware Requirements
Before setting up your remote IoT network, you'll need to gather the necessary hardware components. These include:
- Raspberry Pi board (Model 3B+ or newer recommended)
- MicroSD card with at least 16GB capacity
- Power supply (official Raspberry Pi power adapter recommended)
- Wi-Fi dongle (optional, depending on the model)
- Sensors and actuators (temperature sensors, motion detectors, etc.)
- Breadboard and jumper wires for connecting components
Software Requirements
Choosing the right software is crucial for the successful operation of your remote IoT network. Below are some essential software components:
Operating System
Raspbian is the official operating system for Raspberry Pi and is highly recommended for beginners. However, other Linux-based distributions such as Ubuntu and Fedora can also be used depending on your requirements.
Read also:25 July Trign A Comprehensive Guide To Discovering The Mysteries Of Cosmic Energy
Programming Languages
Python is widely regarded as the best programming language for IoT projects due to its simplicity and extensive library support. Other popular options include C++, JavaScript, and Java.
Communication Protocols
MQTT (Message Queuing Telemetry Transport) is a lightweight protocol ideal for IoT applications. It allows devices to communicate efficiently over unreliable networks. Other protocols such as HTTP and CoAP can also be used depending on the use case.
Setting Up the Network
Configuring your Raspberry Pi for remote IoT networking involves several steps. Follow the instructions below to ensure a smooth setup process:
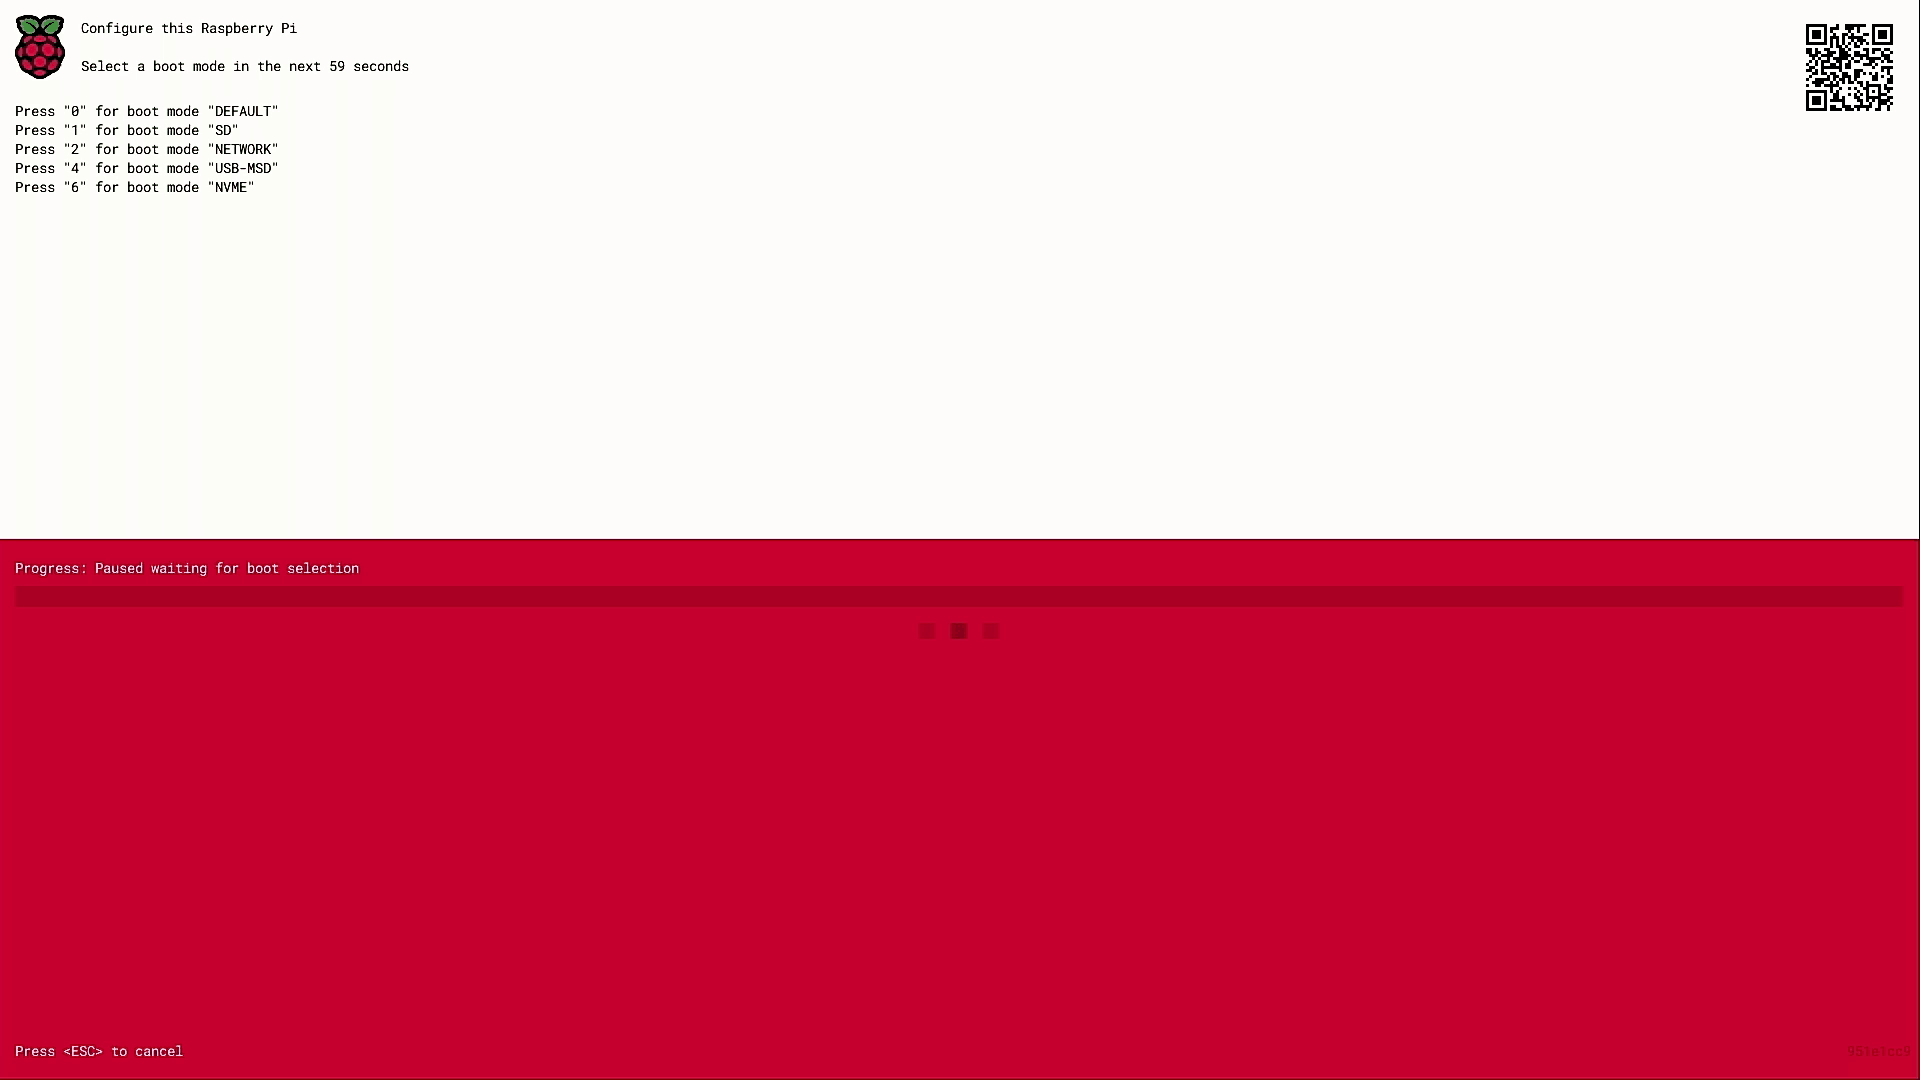
Step 1: Install the Operating System
Download the desired operating system image and write it to the microSD card using a tool like Balena Etcher. Insert the card into your Raspberry Pi and power it on.
Step 2: Configure Wi-Fi Settings
Edit the wpa_supplicant.conf file on the microSD card to include your Wi-Fi network credentials. This allows the Raspberry Pi to connect to the internet wirelessly.
Step 3: Enable SSH Access
Create an empty file named ssh in the boot partition of the microSD card. This enables SSH access, allowing you to remotely manage your Raspberry Pi.
Security Measures for IoT Networks
Security is a critical concern when dealing with remote IoT networks. Implementing robust security measures can protect your devices and data from unauthorized access.
Best Practices for Securing Your Network
- Use strong passwords and enable two-factor authentication
- Regularly update firmware and software to patch vulnerabilities
- Implement firewall rules to restrict incoming and outgoing traffic
- Encrypt communication channels using SSL/TLS certificates
Enabling Remote Access
Remote access allows you to control and monitor your IoT network from anywhere in the world. There are several methods for achieving this:
Using SSH
Secure Shell (SSH) provides a secure way to access your Raspberry Pi remotely. You can use tools like PuTTY (Windows) or the built-in terminal (Linux/Mac) to establish an SSH connection.
Port Forwarding
Configuring port forwarding on your router enables external devices to connect to your Raspberry Pi. Be sure to follow best practices to minimize security risks.
Dynamic DNS
Dynamic DNS services such as No-IP or DuckDNS assign a fixed domain name to your Raspberry Pi, making it easier to access from different locations.
Troubleshooting Common Issues
Despite careful planning, issues may arise during the setup and operation of your remote IoT network. Below are some common problems and their solutions:
Wi-Fi Connectivity Issues
If your Raspberry Pi fails to connect to Wi-Fi, double-check the wpa_supplicant.conf file for errors. Ensure that your Wi-Fi router supports the selected encryption method.
SSH Access Problems
Verify that SSH is enabled and that the necessary ports are open on your router. Check your Raspberry Pi's IP address to ensure it matches the one you're trying to connect to.
Use Cases for Remote IoT Networks
The applications of remote IoT networks are virtually limitless. Below are some examples of how this technology is being used in various industries:
Smart Homes
Remote IoT networks enable homeowners to control lighting, heating, and security systems from their smartphones. This not only enhances convenience but also improves energy efficiency.
Industrial Automation
In manufacturing, IoT networks are used to monitor and optimize production processes. Predictive maintenance systems help reduce downtime and increase productivity.
Agriculture
Farmers use IoT sensors to monitor soil moisture, temperature, and other environmental factors. This data-driven approach leads to better crop yields and reduced resource consumption.
Conclusion and Next Steps
In conclusion, setting up a remote IoT network using Raspberry Pi offers numerous benefits for both personal and professional applications. By following the steps outlined in this guide, you can create a secure and efficient network tailored to your specific needs.
We encourage you to share your experiences and ask questions in the comments section below. Additionally, feel free to explore other articles on our site for more in-depth information on IoT and related technologies. Together, let's build a smarter, more connected world!